 |
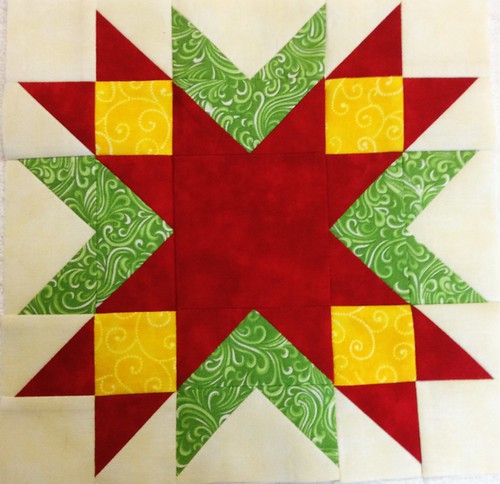
| Dear Jane, B-6 |
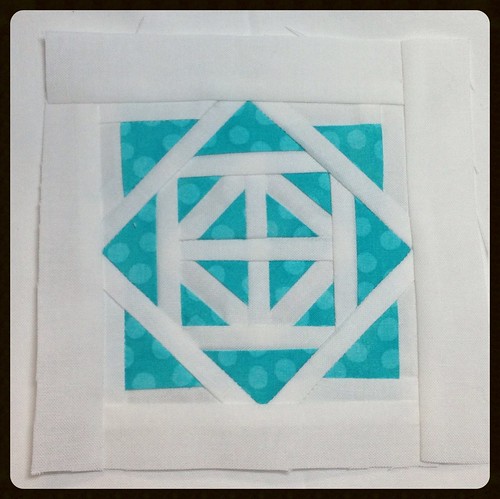
I finished another Dear Jane block last night. I thought while I was doing it I would snap a few pictures and describe my way of paper piecing. This isn't meant to be completely in depth because it was last minute but if people want me to I can do a more in depth description with a simpler block.
To start, I use freezer paper. (I like this kind,
Quilter's Freezer Paper Sheets) And I don't stitch through the paper, ever. Can you imagine cleaning paper out of all those seams in that block above. Keep in mind, that block is only 5". Each of those white pieces in the middle are only a 1/4" wide. I find the method I do to be particularly helpful with small pieces. Another helpful hint when doing this method is that you DO NOT have to reverse or mirror image your design.
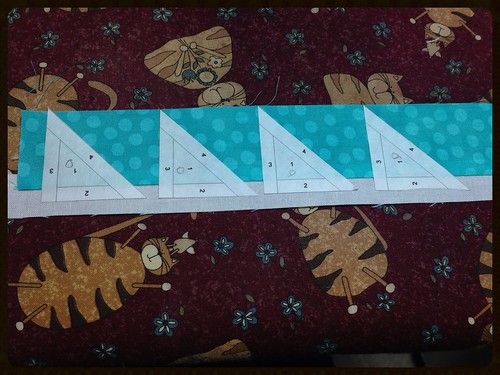
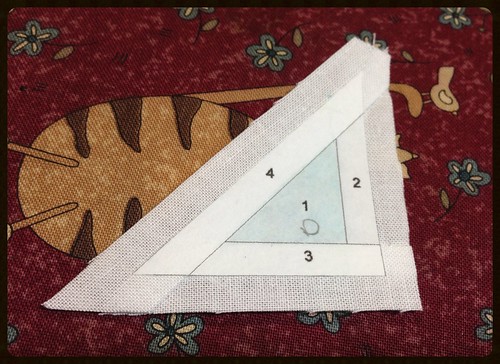
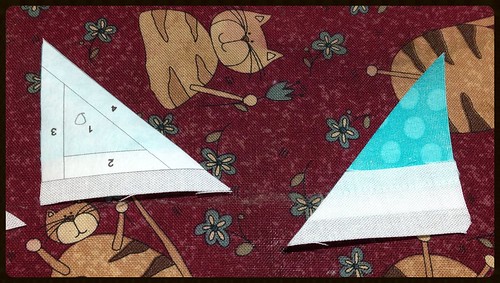
The first thing I do is trim my sections down so that they are in standard sections you use in paper piecing. You can see that in the picture above. I didn't take a picture with them all cut out. I cut off the seams too and you will see why in a bit. The four pieces above are the corner pieces. To speed things up I like to find pieces that are the same and piece them all at one. Here I am working on pieces 1 and 2 in these sections. I pieced together long strips and then ironed my freezer papers on the strip. It saves me from doing four separate seams. I am only worried about having enough room for pieces 1 and 2. I take this piece to my cutting board and trim them down.
 |
|
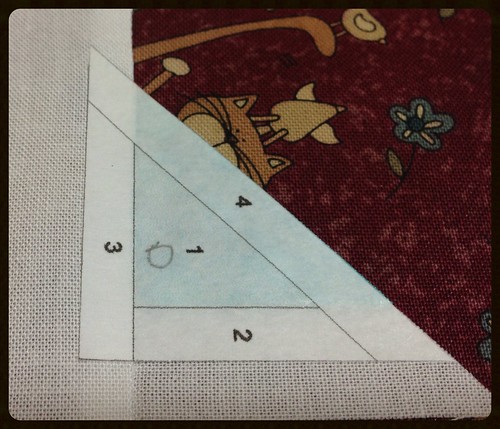
These are the pieces after I trim them down. When you trim you need to make sure you have a 1/4" seam all around the sections you are working on. It just happened that sections 3 and 4 are 1/4" wide so I trimmed to the edges. The paper is on the top of my pieces instead of the back like it normally is with traditional paper piecing. The piece on the right hand side is the back. If you look closely you can see my seam.
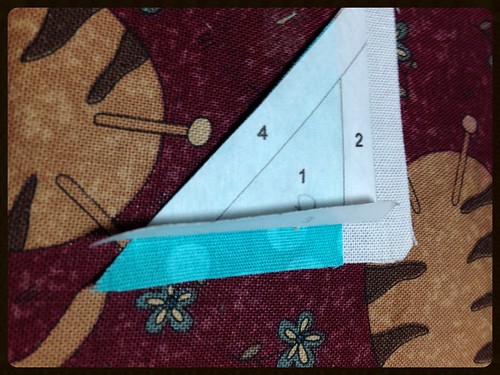
The next piece we need to put on is section 3. I use a ruler and fold that section back. Sometimes I find it helpful to run a needle lightly along the line to perforate it. I then use my ruler and rotary cutter to make sure that the visible edge of fabric is a quarter inch. So the aqua fabric under the three is exactly a 1/4" away from the fold line.
The next piece, section 3, is white so I take a piece of white and lay it right side down over my section lining up the edges and keeping the fold down. You can see the paper folded up. I bring this to the sewing machine and sew a 1/4" seam where the edges line up. You should not hit the paper here if you trimmed correctly and can sew an accurate 1/4" seam. With lighter fabrics you can actually see the paper under so you know where the fold is.
After sewing the seam I take the piece to my ironing board and iron it down. We now have section 3 right where it belongs. Now I fold back section 4, trim to 1/4", place another fabric and sew the seam.
Here is this section all done. Remember to leave a seam allowance around your block because its not included in the paper piece.
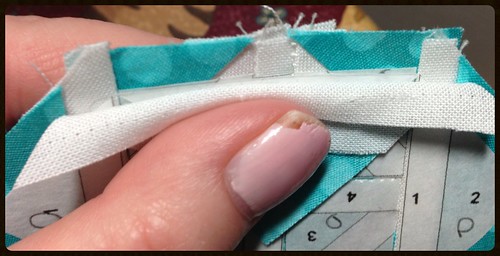
This is how I sew the sections together. I pull back one of the seams and line up the paper. If you look closely you can see the two pieces of paper next to each other. (Please ignore my chipped manicure) They are not quite lined up here. The hardest part of this method is getting those lined up and to the sewing machine that way. I do not like to pin as I feel like it distorts things with so many layers and the paper. Sometimes I glue baste my seams with an elmer's glue stick if I am having a real hard time. I very often start the seam and double check it as I am sewing by lifting up the top piece.
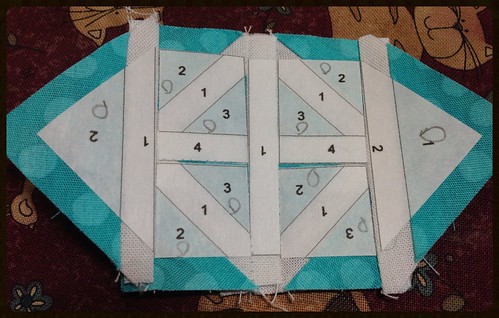
This is a section of my block all done. You can see that there are little gaps. You can choose to resew those if you want. You don't need to unpick. Just sew again a thread closer. Sometimes, depending on the piece you can just pick the freezer paper off and move it closer and re-iron. You might need to trim again if you do this. I didn't do this because then my white strips in the diamond would not have lined up.
I know with this method of the freezer paper being on top it makes it hard to see if your seams line up. But it's freezer paper. You can take it off, check your work and iron it back on. The reason I like the paper on the front is because its not on the back in all the seam allowances. This gets it out of the way. I find it easier to be more accurate when there are small pieces.
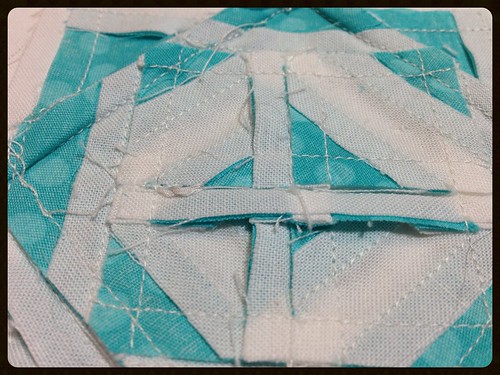
This is the back of my block. Look at all those seams!
Here it is again all done. If you look closely you can see that its not perfect. One of the aqua corner pieces came out too small. I most likely didn't have a correct 1/4" seam somewhere there. I am trying to decide if I should fix it but I probably won't. In this quilt it won't be that noticeable when it is finished.
I learned how to do this method by combining several different ways. I learned to paper piece with the freezer paper on the back and that's how I originally did it. You can see a great tutorial of that
here. Then I started working on a Cynthia England design and she paper pieces with it on top but she cuts out each individual piece and then pieces them together instead of folding back the paper. Kind of like just using the freezer paper as a template. I find my method a bit faster. Especially when you can strip piece and do several sections at once. This block took me about 1 hour and 45 minutes to do. And that was with taking pictures and tucking the kids into bed. And bonus, I didn't have to sit there and unpick paper when I was done.
I would like to hear what you think about this method. There is possibly a tutorial out there doing this but I have not seen it completely this way. I think you should give it a try. If you have any questions please leave a comment or email me. This was just a quick write up so I understand if something wasn't completely clear. I can describe any step of this more in depth in another blog post when I do my next paper piecing block.
Edited: I forgot to add my links to
Let's Connect Thursday and
Crazy Mom Quilts.
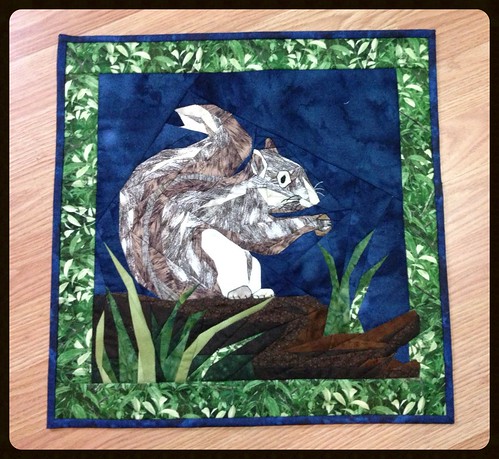
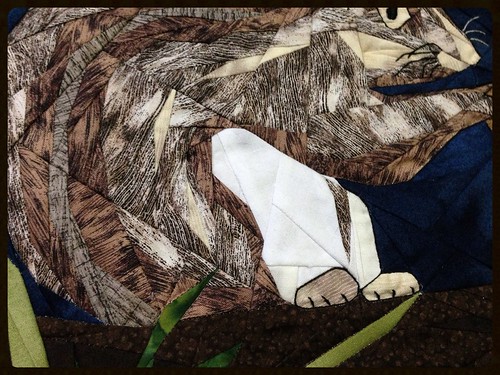
 . I loved this thread. I have had problems with invisible thread before but I didn't have any with this one.